Wednesday, 24 September 2014

My first ever quilt completed!

Hi All,

I apologise for the length of this post - but please bear with me!

It's finally complete - my first ever quilting project!  I wanted to make a quilt for our cradle, that would match the beautiful one on our bed made by Papa Sam's very talented aunts.  Initially, that had meant planning to match the colours, using some basic squares or suchlike, but after going to the local quilting shop and feeling overwhelmed, I sent a message to the aforementioned aunts, begging for help.  Not only were they able to supply some amazing matching prints, but they also sent over a whole heap of pieces that were originally intended for our own quilt, but hadn't quite made the cut.

The beautiful array of fabrics that arrived

I spent a fair bit of time avoiding the fabric, scared stiff of wrecking it by even contemplating cutting it, but eventually took a deep breath, planned out what I wanted to do, and decided to make a small version of the quilt that they had made for us.  There were two quilt blocks from our quilt in amongst the hoard, so I used them as a pattern and made four of my own, based on the following design I knocked up in MS paint.

The first block went fairly well, and I learned a lot from it.  I also got a lot more proficient with my quick unpick than I've ever been in my life!  I will admit that I used the centres (the four squares in the middle) from the pile given to me by the aunts - they were huge sanity savers!
My first quilt block
The next four went a lot quicker, although after taking the following photograph, I went to bed exhausted, slept for the night, then spent the morning unpicking and re-stitching some of the messier parts.  This is the four blocks before and after stitching them together as the quilt top.

Once the four blocks were together, it was time to do a test and see just how much the quilt top looked like the original quilt - I promise you it's sitting on the bed there - it just takes a couple seconds to find it.

Then a test fit in the cradle


Once I'd sandwiched the pieces together with some leftover batting from the quillows my friend made for our other kids, and added a large square of an old white flannelette sheet as the backing, I started tying the pieces together, as per the original quilt.
 

Then made my first ever lot of continuous binding and machine stitched it on to the front of the quilt.


Hand-stitched a name tag and then hand-stitched the tag onto the back of the quilt, while hand-stitching on the back of the binding.


So, without further adieu, I present my completed, gorgeous, cradle quilt!


And that's how I spent the last four or five days...  Now on to the next project!  Thanks so much to those two lovely aunts for all your help and support!

Love to all,
Mama Fern

Tuesday, 16 September 2014

More baby blankets

Hi All,

Finally I've completed my planned crochet projects, and the most basic sewn items for our impending arrival (8 weeks to go!).  Which is a really good thing, as there's a beautiful box of quilting fabric now sitting on the table, begging for my attention.

Our little one will be sharing our room for the first little while, and I was keen to have bedding that matched the red, black and yellow of our own bed, at least just for the cot and cradle that will be taking up long-term residence in our room.  I have a tonne of other coloured bedding, but those will be used more for the moses basket, pram and porta-cots that we keep downstairs.

We also have a painting that looks like a melting red and black chessboard hanging in our room, which Papa Sam painted.  It inspired me to start making red and black crochet squares, eventually leading to me running out of wool and deciding that I really, really wanted to make a full red and black blanket chessboard, so would be REQUIRED to order more wool ;)  Having discovered and fallen in love with a particular wool (http://www.ashford.co.nz/newsite/yarns/2013-tekapo-8ply), the decision was easy, and I only had to wait a week or so...

Middle of the year Christmas time!!!!

Now suitably armed with plenty of wool, ribbon and sheets, it was time to start working!

First up were some old single sheets and a duvet cover, which I cut into cot sheets, then trimmed with a black and white gingham ribbon.  All 8 sheets I made will be kept as flat sheets.  I prefer to use fitted and flat as sets, but it was just easier to do it this way (sooner or later, I'm probably going to regret this decision, but ah well!)


Then, after the colossal job of stitching 64 identical red and black squares, I began the long job of stitching them all together.

Followed by edging the blanket


Then deciding it needed more edging, until I was happy with the finished result :)


And of course, the obligatory trial of  blanket and sheets together (I had to trial this in the cradle, as I still haven't got around to buying the cot mattress yet).  Really excited to see this once I have the cot set up properly.


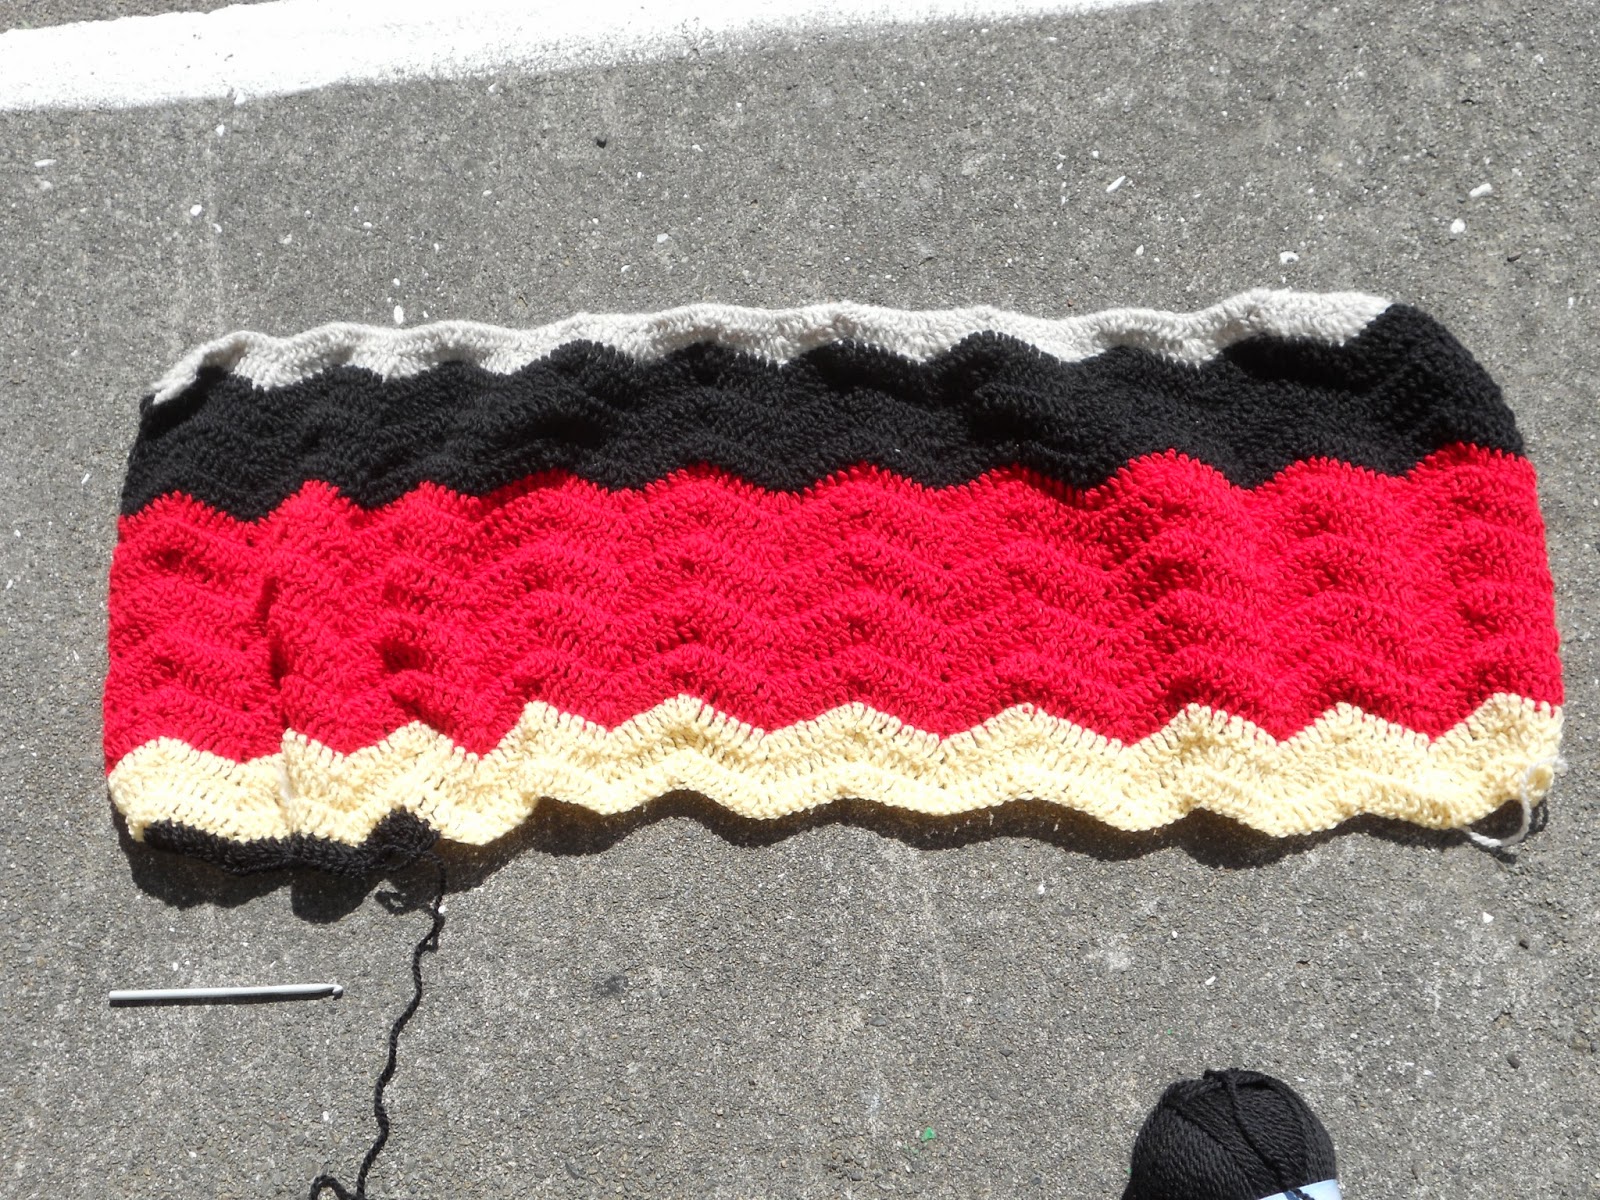
Next up was my first ever go at a chevron blanket...  I started off with my chain stitches waaaaaaaaaaay too tight, ending up with a more skirt shaped blanket than a straight one, but I'm super happy with the result.

Halfway there

The completed blanket

All ready to go, just need to add baby!
Anyway, that's the last four weeks of my life, and looking forward to the events of the next 8 or so!

Love to all,
Mama Fern


Monday, 11 August 2014

Baby blankets and raised beds

Hi All,

Yet another productive weekend has passed, with most of the trees in the yard pruned (at least, up until my arms won't reach any higher), a 12 year old's birthday, a whole bunch of crochet completed and the start of our raised beds in the front yard.

I've managed to complete a blanket for our impending arrival, in a mix of blue and beige.  Looking forward to snuggling our little boy up in it in around 3 months time.

Now just to add the little bundle :)
I also managed to complete a second, slightly larger blanket, for a family member who's expecting a little one early next year.  The colour on here is awful thanks to the camera flash and the artificial lights, so it looks really pink, but is actually a two-tone crimson and red.  It does tend toward the pink in certain lights, though.


Next up was our 12 year old's cake.  Inspired by polka dot cakes on the internet, Papa Sam went to work and tried a variation of his own.  We're usually a food colouring free house, but we've made an exception for a few of the birthdays this year, so figured we'd do the same again.

The only picture I forgot to take was the inside of the cake, which had polka dots inside, but we managed to ice it up as a watermelon.  It was great fun


First colour sitting in cake tin
Pouring in the second colour
The lurid mess before baking


Our completed watermelon cake :)


Papa Sam took advantage of the sun, and built the start of our raised gardens in the front of the house, out of macrocarpa.  The wood smells so amazing at the moment, and I can't wait to fill them with soil.

Eventually, these gardens will be taller, and in the next couple of weeks, we'll get them filled with soil, then plant them out for summer.  We'll also be putting up some trellis, and completing another set of raised beds in front of these ones.  I can't wait!


 Anyway, that's all from me at the moment.  Take care!

Love to all,
Mama Fern

Wednesday, 6 August 2014

Room re-arrange and more new arrivals!

Hi All,

We've spent the last month or so with myself sick and various others in the household falling prey to colds every few days or so - not fun at all!

But we still managed to get around to doing a few jobs which have been needing to be done for a while and are feeling more at home now.  I suppose it had to happen eventually - we have been living here for over a year now!

I didn't manage to get the camera into my eldest's room before a teenage girl sized tornado could sweep through, but we pulled apart her loft bed, Papa Sam worked his magic making new supports, and separated it into the separate pieces, giving her a lot more usable space, including a desk, lower bed and wardrobe.  My step-brother popped by for a day and sanded out the inside of her old wardrobe cupboard for me as well, so that I could give it a fresh lick of paint and make it look a little tidier.


A lucky find at the local Salvation Army store gave me a 3 metre long curtain that, with a bit of cutting and a little time on the sewing machine, turned into two separate, bright curtains for her room.  The main thing left to do now is to buy a closed-top curtain track and raise the curtains up an inch or so, and the room will be done!

But in more exciting news...  We have new arrivals!  Three new brown shaver pullets, fresh from the local battery farm.  Surprisingly, they were actually really feisty and full of energy this time.  They're locked away in quarantine for a week or so, but happily chatting with the current occupants of our run, and already eating and scratching away.  Eventually they'll have names and leg rings, but we're still deciding.


Fresh out of the car and waiting to be put into their temporary new home
Who are these strangers?

Checking out the scenery
Already active
Anyway, that was our last week or so.  Have a wonderful time, everyone.

Love to all,
Mama Fern

Saturday, 26 July 2014

Holiday Cleanup Part 2

Hi All,

Well, Sam, the kids and I managed to get a whole heap done over the school holidays, as I said before, but the weather hasn't been the best for photos.  So after another day's work finishing the big parts of the jobs that were left, I ran around and took some more pics.

I spent the early afternoon digging out the hebes and dianthus that we're re-homing to a friend.  Then left our youngest diligently removing the top layer of bark, so that we can put compost and fresh soil in over the next few weeks, to prep the front gardens for my roses and some other pretties.


Another shot of the "bench" I mocked up for the potted plants to sit on near our front door, with it's handy recycling bin nook underneath.

Our youngest cleared out his future raspberry and strawberry garden as well.  He's super keen to get that one up and running as soon as possible.


And here's a few shots of the remains of that cherry tree that's been driving both us and the neighbours nuts for the past year.  A few more hours left here, cutting up all the branches and stacking them.  But yay for the new shed!


The spot where our old washing line was is ready for clearing and planting.

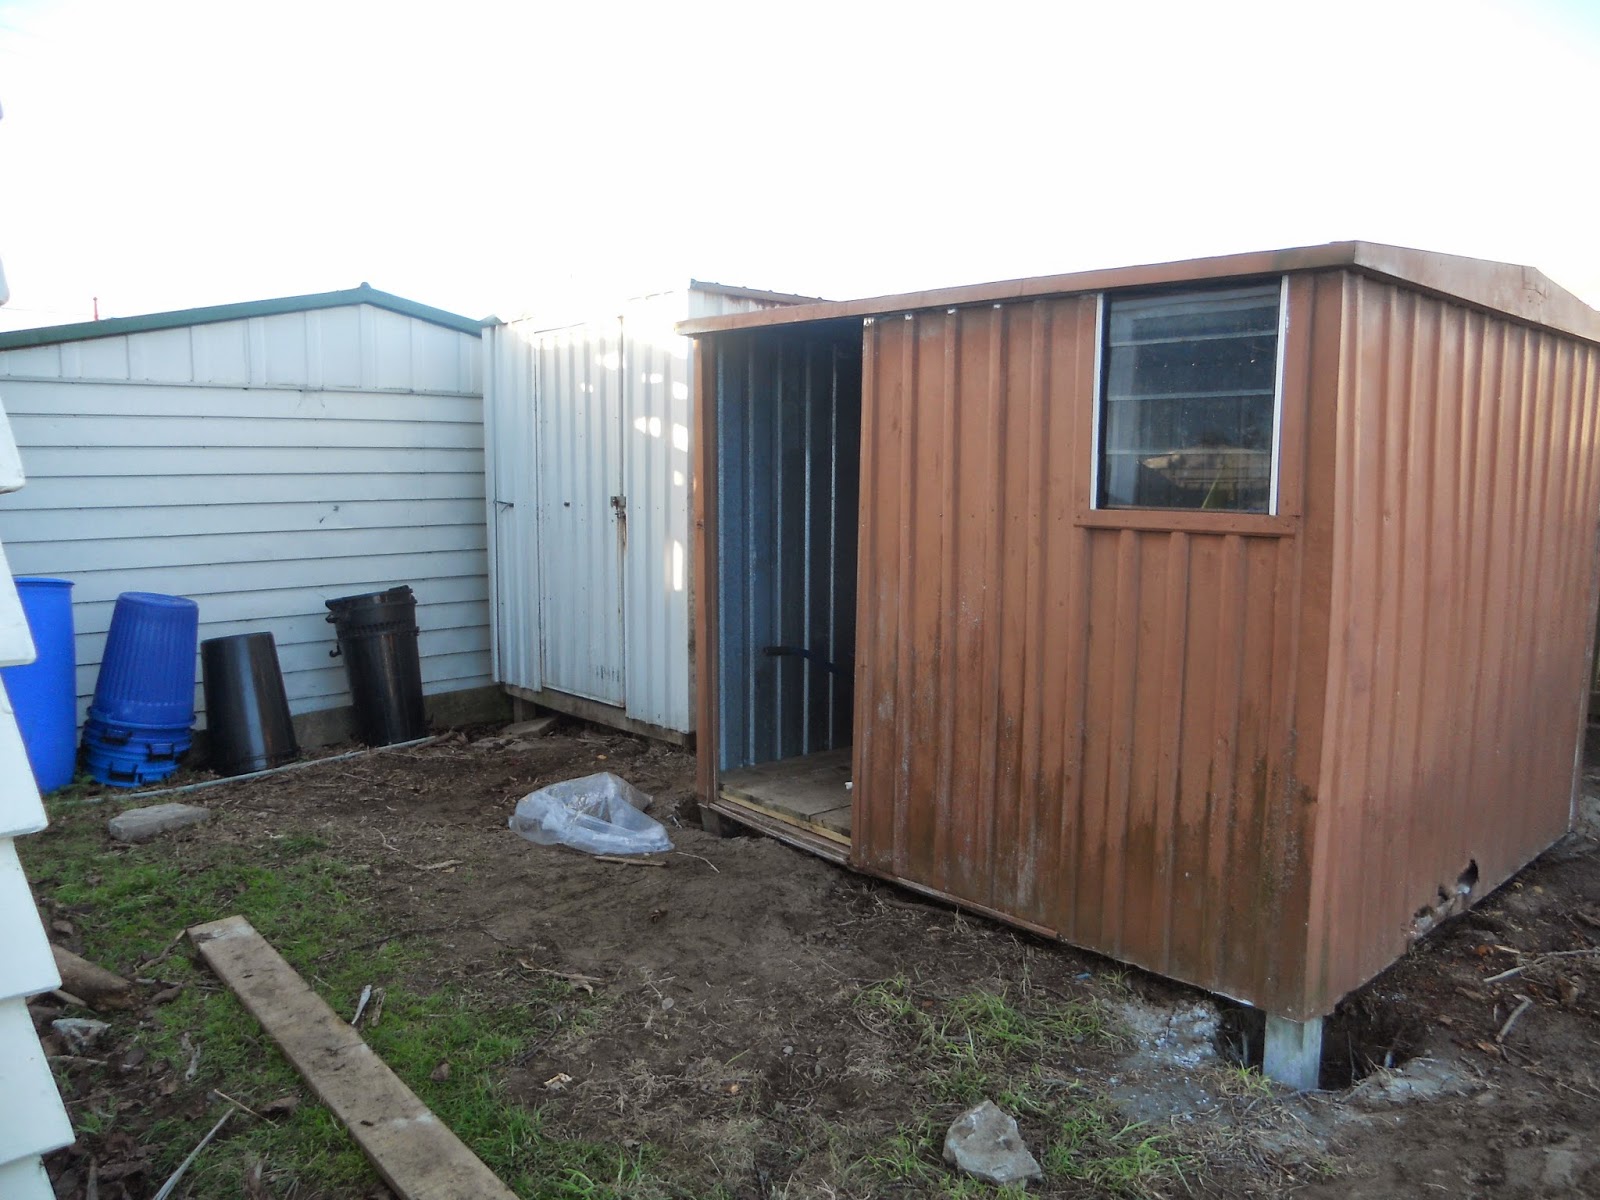
And here it is, all concreted into place and just waiting for a new door and a concrete pad in front.  Our new shed :)  It even has a nice plank floor inside, after my industrious husband spend a long time nailing them all in place.

Our trampoline and swings have been moved further down the section and are just waiting for the area around them to be tidied a little.


And my favourite part of the last couple of weeks work.  I have a brand spanking new washing line, that folds down out of the way.  It's up on the deck, only metres from the back door, so no more trudging the whole length of the house, then through the mud during winter, just to hang out the washing.  Really looking forward to getting a load out in the morning!


Love to all,
Mama Fern

Saturday, 19 July 2014

Holiday cleanup part 1

Hi All,

Well, we spent the school holidays doing a bit of a clear out of the back yard, after Papa Sam and I managed to snag a free shed on the local FreeCycle email group.

 But first things first, the cherry tree had to go.  Sam and the kids spent a couple of days moving stuff around, followed by Sam playing monkey, climbing the tree with a handsaw to cut down the higher branches.  It was amazing how much light that damn tree blocked, even with all its leaves gone.

Before

After
We also lost a couple of our chickens in the past month or two, so planted an olive tree and a chilean guava plant on top of them.


More updates to come as soon as my camera battery is fully charged, but I thought I'd better get at least a couple up now!

Love to all,
Mama Fern